Booting up your computer only to be greeted by a dreaded CPU fan error message can be a nerve-wracking experience. Particularly for ASUS motherboard users, this error can leave you wondering what went wrong and how to fix it. Fear not! This guide delves into the causes of CPU fan errors and provides a step-by-step approach to resolving the issue on your ASUS motherboard.
Part 1: Understanding the CPU Fan Error
1. The Importance of Cooling:
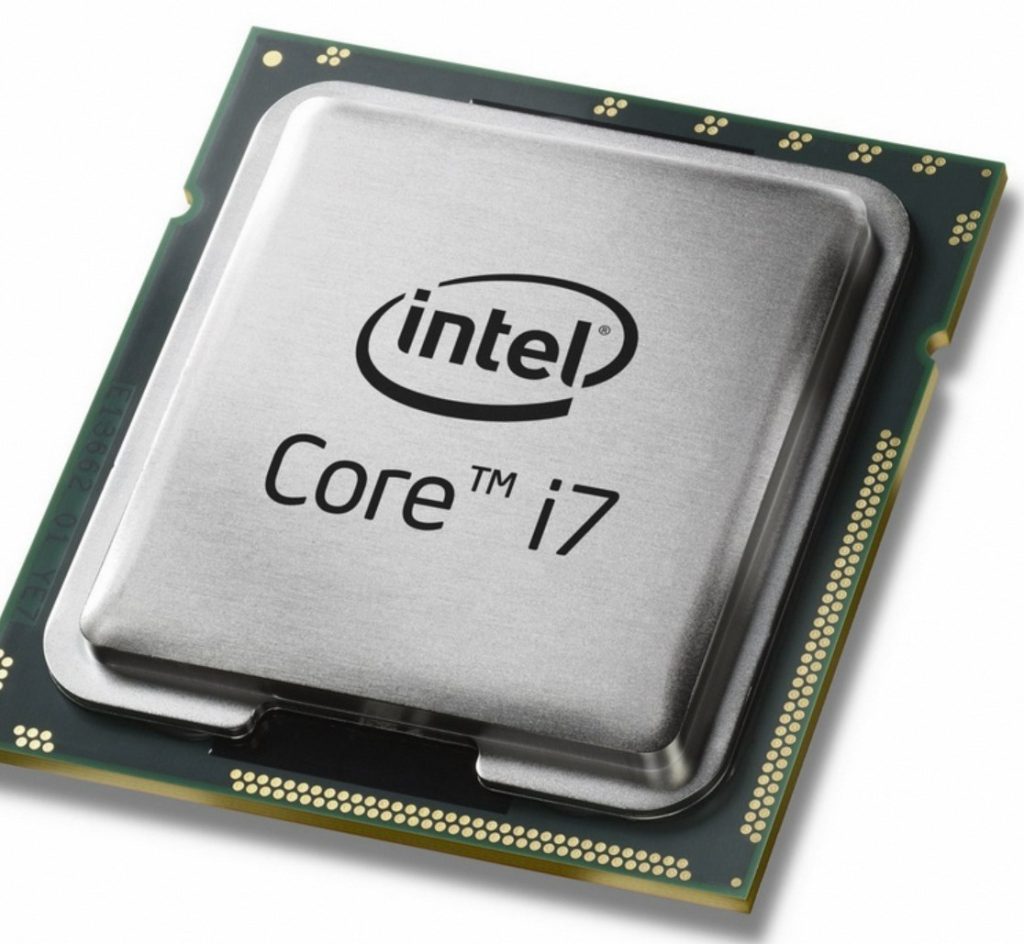
Your CPU, serving as the central processing unit and the brain of your computer, generates a considerable amount of heat during its operation. To prevent overheating and potential damage, the presence of a CPU fan is essential. The primary function of the CPU fan is to continuously circulate cool air across the CPU, effectively dissipating the heat and maintaining the processor within safe temperature ranges. By facilitating this airflow, the CPU fan plays a critical role in ensuring the optimal performance and longevity of the CPU and the entire system.
Without an efficient cooling mechanism such as a CPU fan, the excessive heat generated by the CPU can result in thermal throttling, reduced performance, and potentially severe damage to the processor. Therefore, the presence and proper function of a CPU fan are crucial for preserving the stability and reliability of your computer system during extended periods of use and demanding tasks.
2. When the System Sounds the Alarm:
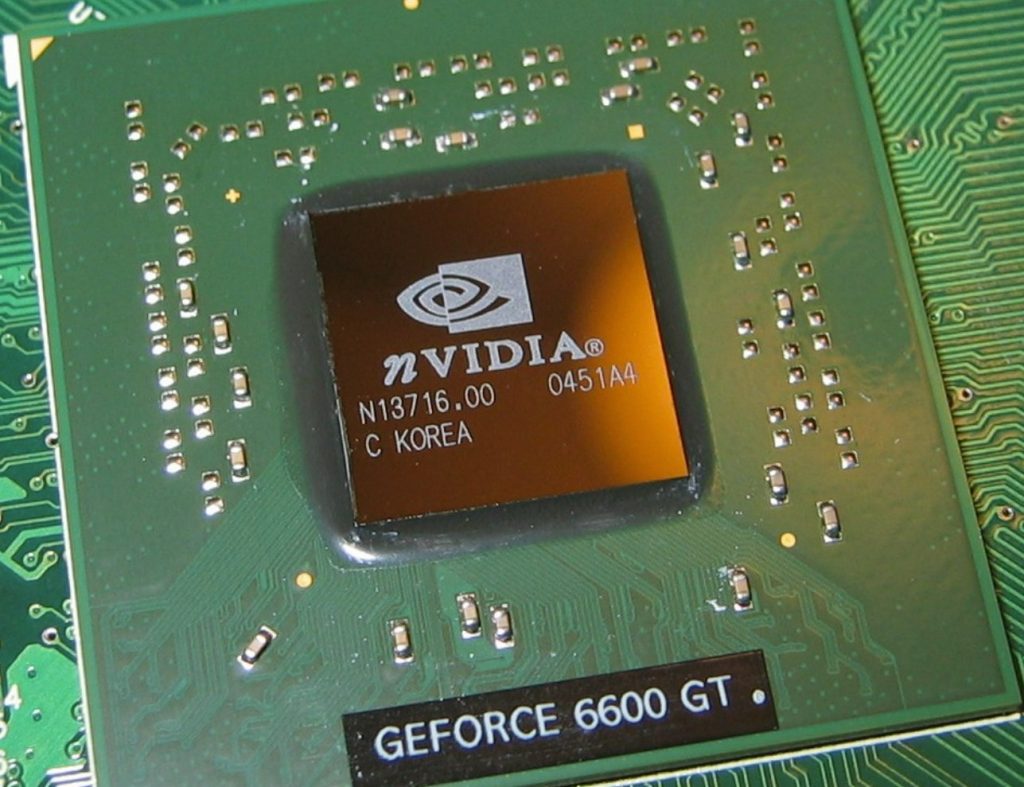
An ASUS motherboard can monitor various system parameters like CPU temperature and fan speed. If it fails to detect the CPU fan spinning or if the CPU temperature exceeds safe levels, it triggers a CPU fan error message. This error message is an essential warning system, alerting users to potential hardware damage or system instability. It communicates the presence of a CPU fan or temperature anomaly and prompts users to take necessary action. This may include checking hardware connections, adjusting fan settings in the BIOS, or replacing the CPU fan to ensure proper cooling and prevent potential overheating-related issues.
Part 2: Troubleshooting the CPU Fan Error
1. Verification is Key:
Before diving into complex solutions, take a moment to verify the issue. Open your computer case and ensure the CPU fan cable is securely connected to the designated CPU_FAN header on the motherboard. Visually inspect the fan blades for any dust buildup or obstructions that might hinder their rotation. A quick cleaning with compressed air can often resolve the issue.
2. BIOS Settings and Fan Control:
The ASUS BIOS (Basic Input/Output System) offers options to configure fan control. Restart your computer and enter the BIOS setup by pressing the designated key during boot (often DEL, F2, or Esc). Locate the fan control settings and ensure the CPU fan is set to “Enabled” or “Auto.” Some motherboards offer adjustable fan profiles that allow you to customize fan speed based on CPU temperature. Experimenting with these settings might help resolve the error.

Part 3: Advanced Troubleshooting (For Experienced Users)
1. Checking for Faulty Hardware:
If basic checks and BIOS adjustments do not resolve the issue, it is essential to consider the possibility of a hardware problem. To determine if the CPU fan itself is faulty, one approach is to carefully remove the fan and test it by connecting it to a different motherboard fan header, if available, to observe if it spins. This step is crucial in diagnosing the specific cause of the issue and can help determine whether the problem lies with the fan or with another component.
By conducting this test, you can gain valuable insights into the root cause of the problem. If the fan operates normally when connected to a different fan header, it could indicate an issue with the original motherboard’s fan header or related circuitry. Conversely, if the fan does not spin when connected to an alternative header, it is likely that the fan itself is faulty and requires replacement. By systematically conducting these tests, you can narrow down the issue and take appropriate measures to address and resolve it effectively.
2. Replacing the CPU Fan:
If the fan test fails or you suspect a faulty connection, the next step in resolving the issue is to replace the CPU fan. It’s essential to ensure that you purchase a replacement CPU fan that is compatible with your ASUS motherboard socket type. The compatibility is crucial as different CPU sockets require specific fan designs to ensure proper fit and functionality. Before making a purchase, carefully review the specifications and compatibility information provided by the manufacturer to avoid any compatibility issues.
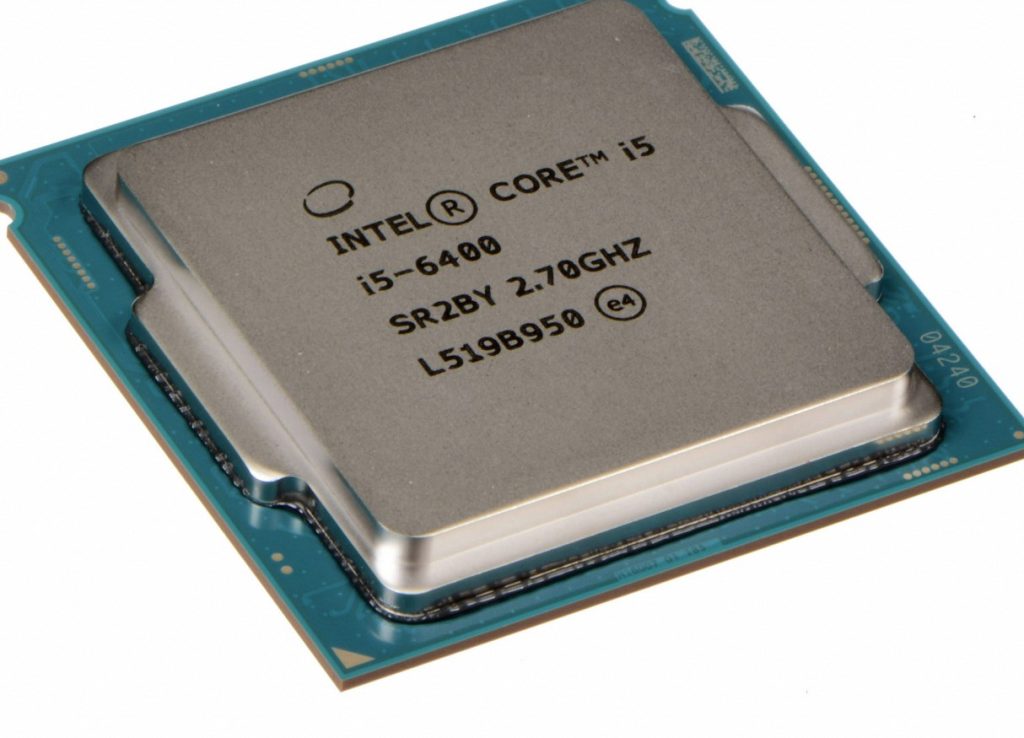
Once you have obtained a compatible replacement CPU fan, carefully follow the manufacturer’s instructions to install the new fan securely. Ensure that all connections are properly seated and secured to guarantee optimal performance. By taking these steps, you can effectively address any potential issues related to a malfunctioning or failed CPU fan, helping to maintain the stability and efficiency of your system’s cooling and overall performance.
Part 4: Maintaining Optimal Cooling Practices
1. Regular Cleaning is Crucial:
Dust buildup within your computer case can impede airflow and diminish the effectiveness of the CPU fan. Over time, accumulated dust can cause the fan to work harder and less efficiently, potentially leading to overheating and performance issues. To mitigate this, it is crucial to regularly clean your computer case and CPU fan using compressed air. By carefully removing dust and debris, you can restore optimal airflow and ensure that the CPU fan can operate effectively.
To maintain the health and performance of your system, consider establishing a routine cleaning schedule to prevent dust buildup. Thoroughly cleaning the computer case and CPU fan with compressed air every few months can significantly reduce the risk of overheating and hardware complications. By incorporating this simple maintenance practice, you can help prolong the lifespan of your computer and maintain its optimal functionality.

2. Monitor CPU Temperature:
Several software tools allow you to monitor your CPU temperature in real-time. Keeping an eye on the temperature helps you identify potential overheating issues before they trigger the CPU fan error message. By following these steps and understanding the causes of CPU fan errors, you can effectively troubleshoot the issue on your ASUS motherboard. Remember, if you’re unsure about any steps, consulting a qualified computer technician is always recommended.


