The pen may be mightier than the sword, but in the digital age, the stylus pen is quickly becoming a powerful tool for note-taking, creative expression, and overall productivity. While a stylus offers a more natural writing experience compared to typing on glass, mastering its use takes practice and a few key techniques. This guide explores the world of digital writing with a stylus pen, equipping you with valuable tips and techniques to elevate your skills.
Part 1: Posture and Positioning: Laying the Foundation
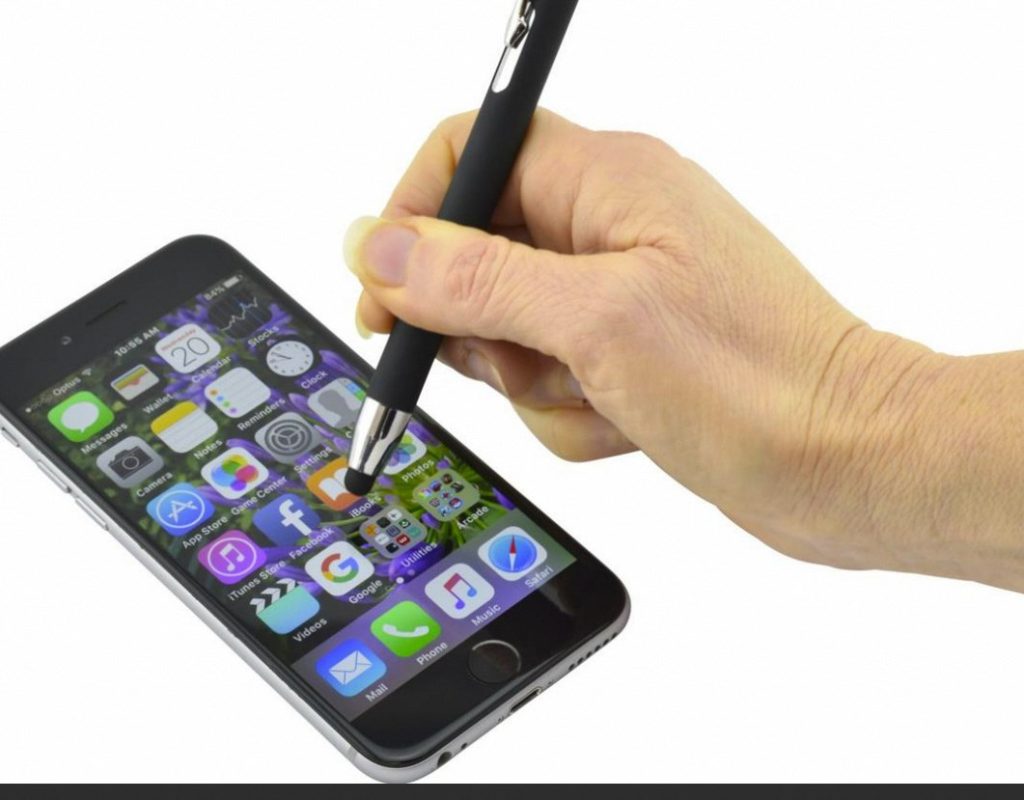
1. Finding Your Perfect Grip:
Finding the right grip for stylus use is crucial, much like mastering the proper grip for traditional pen writing. Experimenting with various hand positions is essential to discover what feels most comfortable and provides the best control. Some users may prefer a tripod grip, similar to how they hold a pencil, while others may opt for a looser, more relaxed grip. The goal is to find a grip that allows for smooth, precise strokes while minimizing hand strain and fatigue, especially during long drawing or writing sessions. Additionally, the grip should provide stability and control, enabling users to execute intricate details and fluid movements without discomfort. Ultimately, finding the ideal grip for your stylus pen can significantly enhance your digital writing and drawing experience, contributing to improved accuracy and overall comfort.
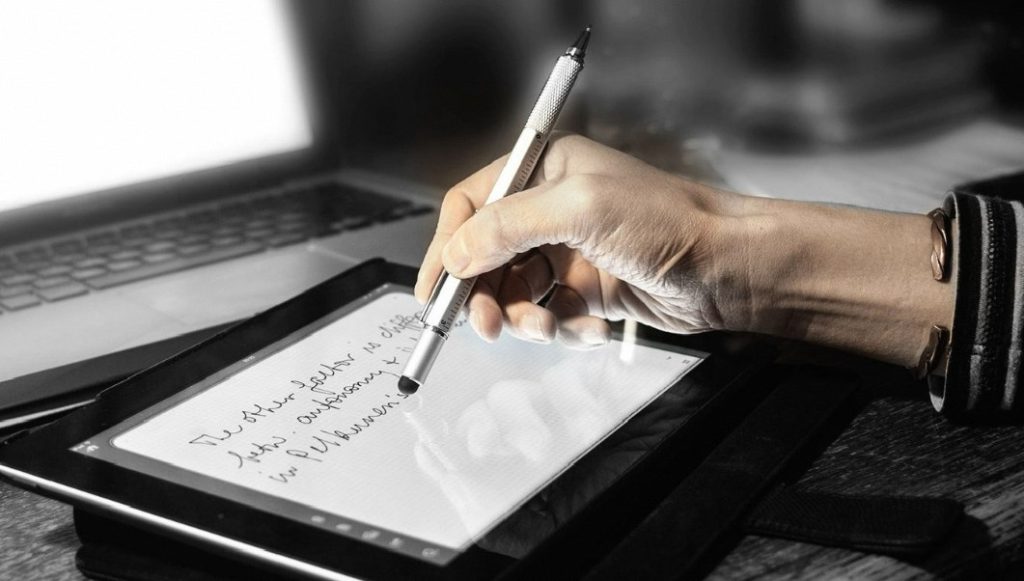
2. Posture Makes Perfect:
Maintaining good posture is essential for comfortable and efficient stylus use, especially during prolonged writing or drawing sessions. It’s important to sit upright with your back straight and shoulders relaxed to reduce the risk of developing strain or discomfort. When using a stylus, position your device on a flat surface at an angle that is comfortable for both viewing and writing. This angle should support a natural and relaxed position for your wrist and hand.
To maintain proper wrist alignment and minimize fatigue, imagine extending a straight line from your elbow to your hand and the stylus. This alignment technique encourages a more ergonomic wrist position, reducing the risk of strain or discomfort. It’s also important to take regular breaks and stretch your hands and wrists to prevent stiffness. By practicing good posture and implementing ergonomic techniques, you can enhance your comfort and productivity when using a stylus for digital writing and drawing.
Part 2: Unlocking Precision: Mastering Stylus Strokes
1. Start Slow and Steady:
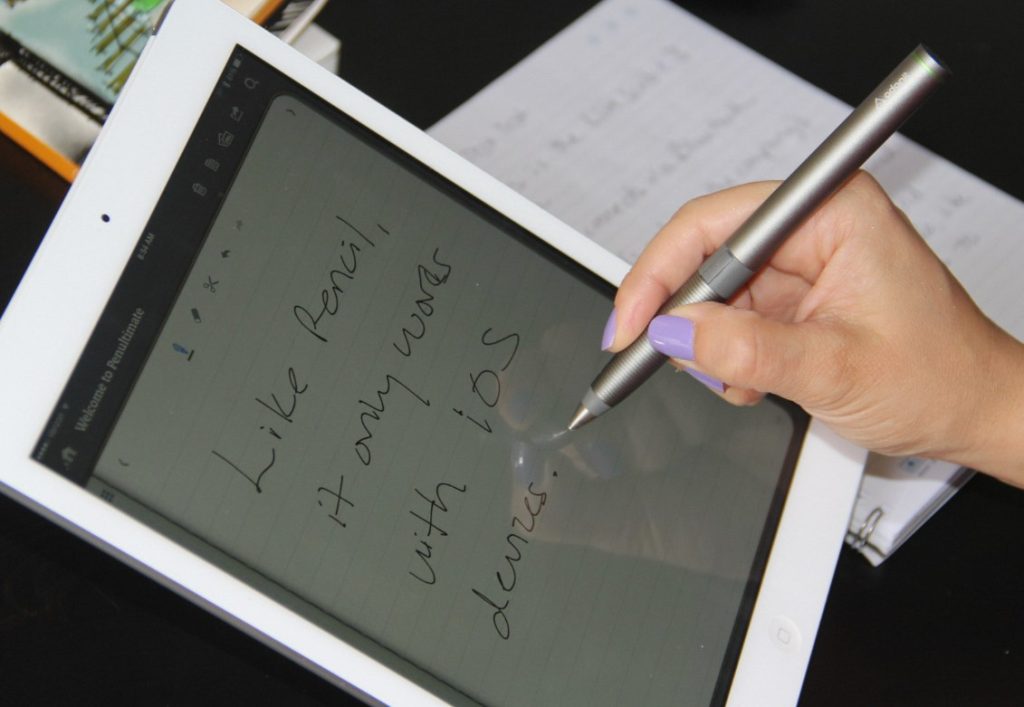
As you transition from traditional penmanship to digital writing with a stylus, it’s important to remember that practice makes perfect. Start by writing slowly and deliberately, focusing on forming clear and consistent letters and shapes. Pay close attention to the pressure you apply because, with pressure-sensitive styluses, the force of your touch determines the thickness of the lines. A lighter touch produces thinner lines, while a firmer press results in thicker lines. By adjusting the pressure, you can create varying line weights, adding depth and expression to your digital writing or artwork.
Additionally, take the time to experiment and familiarize yourself with the capabilities of your stylus, such as tilt recognition or other advanced features. Through regular practice and experimentation, you’ll develop a better understanding of how to leverage these features to enhance your digital writing and drawing skills. With patience and practice, you can master the art of digital writing and unleash the full potential of your stylus.
2. Embrace Palm Rejection:
Numerous styluses are equipped with advanced palm rejection technology, a valuable feature that enables users to comfortably rest their palm on the screen without causing unintended touch inputs. This technology is especially beneficial for activities like note-taking and drawing, where the natural hand position involves resting on the screen. If you find yourself experiencing accidental palm touches, it’s essential to ensure that your stylus’s palm rejection feature is enabled. Additionally, adjusting your hand position slightly can help minimize such unintended interactions with the screen. By leveraging the palm rejection feature and making minor adjustments in hand placement, users can maintain a more natural and comfortable writing or drawing posture without having to worry about disrupting their work with inadvertent touches. This allows for a smoother and more seamless digital writing and drawing experience, enhancing overall productivity and creativity.
Part 3: Apps and Software: Optimizing Your Digital Workspace
1. Finding the Right App:
Not all note-taking or drawing apps are created equal. Explore apps specifically designed for stylus use. These apps often offer features like pressure sensitivity recognition, palm rejection optimization, and various brush and pen settings. Popular options include Notability for note-taking, Procreate for illustration, or Microsoft OneNote for organization, all offering intuitive interfaces and features tailored for stylus users.
2. Customize Your Toolkit:
Many stylus-friendly apps allow you to customize your writing experience. Explore different pen styles, adjust line thickness and opacity, and experiment with color palettes to personalize your digital notebook or artwork. Some apps even offer handwriting-to-text conversion features, perfect for capturing quick notes or ideas on the go.
Part 4: Beyond the Basics: Advanced Techniques for Stylus Mastery
1. Shading and Blending:
Exploring shading and blending techniques with a stylus can take an artist or designer’s creative expression to new heights. Leveraging the pressure sensitivity of the stylus allows for the creation of smooth gradients and subtle shading effects, enabling the artist to add depth and dimension to their digital artwork. By varying the pressure applied to the stylus, they can achieve a broad range of tonal values, from the lightest of touches to more intense strokes, offering a nuanced and realistic shading experience.
In addition, experimenting with different brush settings within a preferred drawing app can contribute to achieving diverse textures and depths in the artwork. By adjusting brush parameters such as opacity, size, and hardness, artists can replicate organic textures and create a dynamic visual impact in their digital creations. Mastering these shading and blending techniques with a stylus opens up a world of possibilities for artists and designers, allowing them to produce captivating and lifelike artwork that showcases their full creative potential.

2. Gesture Recognition:
Many styluses and apps support gesture recognition features, allowing for shortcuts and increased efficiency. Explore gestures like swiping to erase, double-tapping to undo, or using specific shapes to activate tools within the app. Mastering gesture recognition can significantly streamline your workflow and boost your productivity.
In conclusion, wielding a stylus pen effectively requires a combination of proper posture, practiced strokes, and leveraging the capabilities of your chosen apps. By following these techniques and tips, you can transform your stylus pen from a simple writing tool into a powerful instrument for creativity and productivity in the digital world. So, embrace the possibilities, experiment with different techniques, and unlock the full potential of digital writing with your stylus pen!