Preparing for SSD Installation
Do yo now How to install an SSD?Choosing the correct solid state drive (SSD) and preparing for installation is the foundation for upgrading your computer’s performance. Here’s a straightforward approach to get ready.
Choosing the Right SSD for Your System
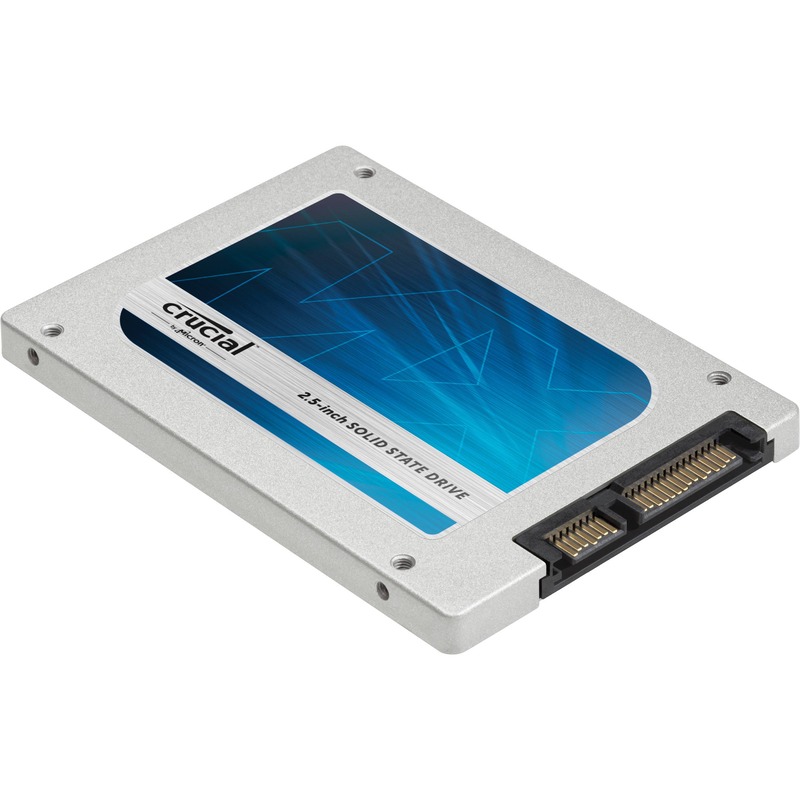
Identify your system type—desktop or laptop—to determine the right SSD form factor. Think about storage needs: more storage for large files or faster speed for better performance. Check for compatibility with your motherboard, ensure enough space for the SSD, and decide on SATA or M.2 based on your computer’s slots.
Tools and Supplies Required
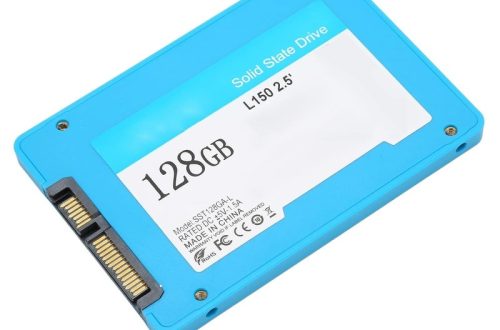
You’ll need a few basic tools for SSD installation: a screwdriver compatible with your computer’s screws, a grounding strap to prevent static, and potentially mounting brackets if fitting a 2.5-inch SSD into a 3.5-inch bay. Also, obtain SATA data and power cables if they aren’t supplied with the SSD.
Data Backup: Protecting Your Files
Before starting any installation, back up your essential files. Use an external drive or cloud storage to safeguard your data. This way, you won’t lose anything important during the transition to the new SSD.
Static Safety Measures
Taking the right precautions against static electricity is crucial in SSD installation.
Understanding the Risk of Static Electricity
Static electricity can harm delicate computer parts. Simple measures protect your SSD during installation.
How to Ground Yourself Before Installation
Discharge static by touching metal before handling SSDs. A grounding strap is also effective.
Desktop SSD Installation Steps
Upgrading your desktop with an SSD? Here’s how.
Opening the PC Case and Locating the Drive Bay
Turn off your computer and unplug all cables. Open the case by removing screws or sliding off the panel. Locate the drive bay where the SSD will go; this will usually be near the existing hard drive.
Mounting and Securing the SSD
Slide the SSD into the drive bay. Some cases have a dedicated SSD spot, or you may need to use a mounting bracket. Align the SSD with the holes in the bay and secure it by tightening the screws provided.
Connecting SATA Data and Power Cables
Find the SATA power cable from your power supply. Connect it to the SSD. Then, take a SATA data cable and attach one end to the SSD and the other to a SATA port on your motherboard. Make sure connections are snug.
Laptop SSD Installation Process
Upgrading your laptop with a new SSD can revitalize its performance. Here is how to do it in simple steps:
Accessing the Storage Bay
Start by powering off your laptop and disconnecting all cables. If your laptop has a removable battery, take it out. Find the compartment that houses your current hard drive; this is typically on the underside of your laptop. Release the drive bay cover by removing screws or sliding off the panel as specified in your owner’s manual.Learn how to install an SSD in your laptop or desktop with our guide. Discover types of SSDs, installation steps, and troubleshooting tips.
Removing the Existing Drive and Transferring Brackets
Gently slide out the existing drive. If it’s secured with screws or a mounting bracket, use your screwdriver to detach these parts. Take careful note of how the drive is attached. You’ll need to replicate this when installing the SSD.
Connecting and Securing the New SSD
Align your new SSD with the connections in the storage bay. Insert the drive without forcing it. Once in place, reattach any brackets or screws you removed from the old drive. Ensure the SSD is secure and won’t shift in the bay. Replace the drive bay cover, reinsert the battery if you removed it, and power on your laptop to proceed with the new SSD setup.
M.2 SSD Installation Guide
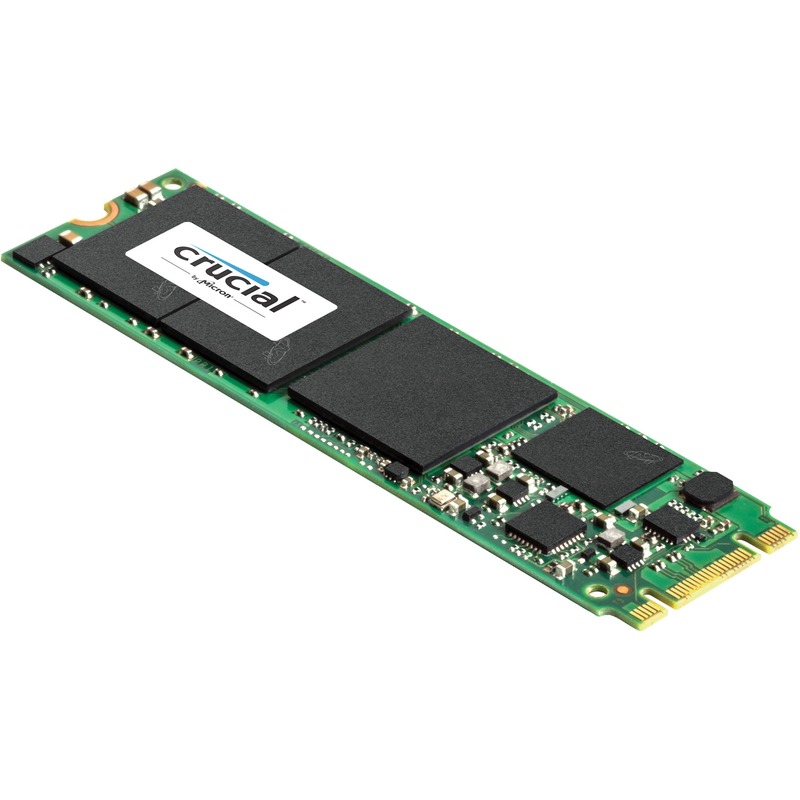
Installing an M.2 SSD can greatly boost your computer’s performance. Follow these simple steps to ensure a proper installation.
Locating the M.2 PCIe Slot
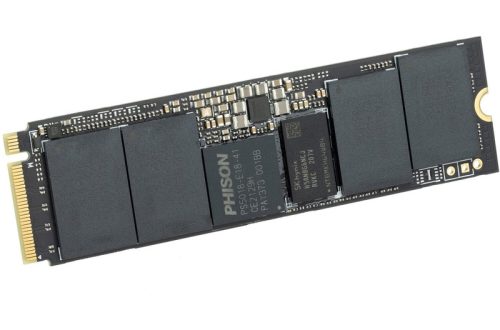
First, power down your computer and open the case. Find the M.2 PCIe slot on your motherboard, usually near the CPU or PCIe slots. Refer to the motherboard manual if needed.
Properly Inserting the M.2 SSD
Handle the M.2 SSD by the edges. Align the notched end of the SSD with the slot. Insert the SSD at a 30-degree angle to the motherboard without forcing it.
Securing the M.2 SSD and Reassembling the Computer
Secure the SSD with the provided screw. Do not overtighten as it may damage the SSD or the motherboard. Reassemble your computer carefully and get ready to enjoy faster performance from your new M.2 SSD.
Post-Installation Setup
After installing your SSD, the next crucial phase is setting up your system to run smoothly with the new drive. This involves a few more steps, such as ensuring the system boots from the SSD, formatting and partitioning it, and possibly transferring data from your old drive.Learn how to install an SSD in your laptop or desktop with our guide. Discover types of SSDs, installation steps, and troubleshooting tips.
Booting from the SSD
To boot from the new SSD:
- Turn on your computer.
- Enter the BIOS by pressing a specific key (often ‘Delete’, ‘F2’, ‘F12’, or ‘Esc’) shown during startup.
- Navigate to the ‘Boot’ menu.
- Select the new SSD as the primary boot device.
- Save your changes and exit the BIOS.
Formatting and Partitioning the New Drive
Formatting and partitioning your new SSD is required to use it effectively. Here’s the process:
- Boot into your operating system.
- Open ‘Disk Management’ by right-clicking on ‘This PC’ or ‘Computer’ and selecting ‘Manage’, then ‘Disk Management’.
- Find your new SSD, right-click on it, and choose ‘Initialize Disk’.
- Select ‘GPT’ (GUID Partition Table) for newer systems or ‘MBR’ (Master Boot Record) for older ones.
- After initializing, right-click on the unallocated space to create a ‘New Simple Volume’.
- Follow the on-screen instructions to format the SSD and assign a drive letter.
Cloning Your Old Drive (If Necessary)
If you wish to transfer data from your old drive:
- Choose cloning software that suits your needs.
- Install and run the cloning software.
- Follow the software’s instructions to clone the old drive to the SSD.
- Once cloning is complete, reboot your system to ensure it starts from the SSD.
By following these steps, your new SSD should now be ready to use, providing a significant performance boost to your system.
Troubleshooting Common SSD Installation Issues
Although SSD installation generally goes smoothly, occasionally you might encounter a hiccup. Here’s how to troubleshoot common issues that you may face.
What to Do if Your SSD Isn’t Recognized
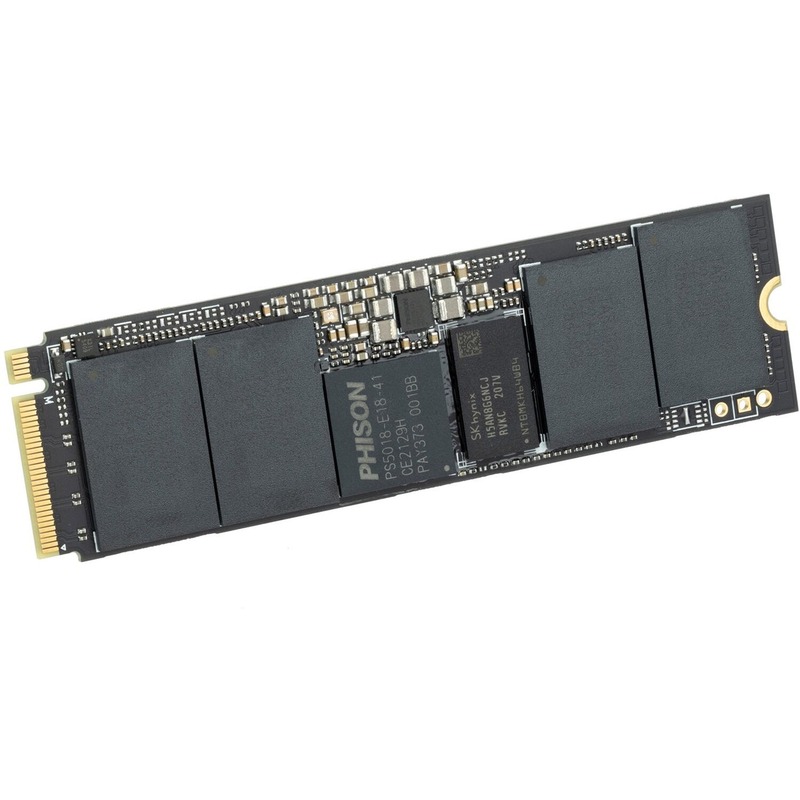
Encountering a situation where your system doesn’t recognize the new SSD can be frustrating. Begin by checking all connections to ensure they are secure. For SATA SSDs, confirm both data and power cables are properly connected. For M.2 SSDs, reseat the drive in the slot to ensure proper contact. If the issue persists, check the BIOS settings to confirm if the SSD is detected and ensure the SATA mode is set to AHCI.Learn how to install an SSD in your laptop or desktop with our guide. Discover types of SSDs, installation steps, and troubleshooting tips.
Resolving Booting Problems
If you’re facing booting issues, start by checking the boot order in BIOS. The SSD should be set as the primary boot device. If the problem continues, a boot repair using a Windows installation media might be necessary. Insert the installation media, boot from it, and use the repair tools provided. In extreme cases, a fresh OS installation on the SSD could resolve the issue.
Checking Cloning Software and Drive Space
When transitioning from an old drive to an SSD, cloning software is a key tool. Make sure it’s up to date and compatible with your SSD. During the cloning process, the destination drive must have enough space for all the data; always check this before starting. A final tip: run a disk check on the old drive to rule out errors before you begin cloning.
Enhancing SSD Performance
After your SSD install, boost its performance and longevity.
Additional Software for Performance Optimization
Now that your SSD is in, let’s speed things up more.
- Crucial Storage Executive: This tool enhances SSD speed, like with its Momentum Cache feature.
- Acronis True Image: Use it for data migration; it clones your old drive to your new SSD.
- Kingston SSD Manager: A great app for customizing and boosting SSD performance.
Each software adds value. Crucial’s Momentum Cache, for instance, can speed up data access. Acronis simplifies moving data, making your SSD a replica of your old drive. Kingston’s manager tunes your SSD for peak function. Download these tools for better drive management.
Monitoring SSD Health and Usage
Keep tabs on your SSD’s condition.
- Use tools like the Kingston SSD Manager to monitor health and disk usage.
- Look into the Seagate SeaTools for a comprehensive check-up.
- Check for software updates, as a fresh SSD firmware can mean better stability.
Constant monitoring helps spot issues early. Apps and tools are there to check drive health, helping you keep your drive at its best for longer. Update firmware occasionally for improved performance and life span.Learn how to install an SSD in your laptop or desktop with our guide. Discover types of SSDs, installation steps, and troubleshooting tips.
