Introduction
Do you know how to clean thermal paste from CPU? In the world of computer building and maintenance, understanding the role of thermal paste is crucial. Thermal paste, also known as thermal compound or thermal grease, acts as an essential interface between the CPU and its cooler. It enhances heat dissipation, ensuring that the processor operates efficiently and coolly. Over time, however, thermal paste can dry out or become less effective, compromising its ability to conduct heat. This leads to overheating, thermal throttling, and ultimately, reduced performance.
For anyone looking to optimize their system performance, knowing how to clean thermal paste from a CPU is a vital skill. This article provides a detailed, step-by-step guide on cleaning thermal paste, the tools required, and best practices for applying new thermal paste. Whether you are a seasoned tech enthusiast, a gamer, or a DIY repair technician, this guide will instill confidence in maintaining your CPU and promoting optimal performance.

Why You Should Clean Thermal Paste from the CPU
Cleaning thermal paste from CPU is essential for various reasons. First, old thermal paste can lose its effectiveness over time. When thermal paste dries out, it doesn’t provide a sufficient barrier to facilitate heat transfer, resulting in compromised thermal conductivity. This leads to increased CPU temperatures, which can hinder performance and damage components over time.
Second, using old or degraded thermal paste can lead to overheating issues. When the CPU overheats, it enters thermal throttling mode, causing the processor to slow down to prevent damage. This is particularly detrimental for gamers and professionals who rely on consistent performance. Maintaining optimal temperatures is crucial if you want your system to perform at its best.
Lastly, cleaning thermal paste is a proactive step in system maintenance. By regularly cleaning and replacing thermal paste, you can ensure the longevity of your CPU and coolers. This simple act can prevent major problems down the line, allowing you to enjoy your system for years to come.
Tools Required for Cleaning Thermal Paste
Before you start the process of cleaning thermal paste from the CPU, you need to gather a few essential tools. Having the right materials will make the process smoother and more effective.
1. Isopropyl Alcohol: Aim for a concentration of at least 90%. This will effectively break down the thermal paste and clean the surfaces without damaging the components.
2. Microfiber Cloth or Coffee Filter: Use a lint-free cloth or a coffee filter to apply the isopropyl alcohol and wipe away the old thermal paste. Avoid paper towels, as they can leave lint behind.
3. Plastic Scraper or Old Credit Card: A plastic scraper enables you to gently remove the bulk of the old thermal paste without scratching the CPU.
4. Anti-Static Wrist Strap (Optional): This strap helps prevent static electricity from damaging your components while you work on your PC.
Having these tools ready will streamline the process of cleaning thermal paste from your CPU, making it safer and more efficient.
How to Safely Clean Thermal Paste from the CPU
Cleaning thermal paste from your CPU may seem daunting, but it is a manageable task with a structured approach. Follow these steps to ensure a safe and effective cleaning process:
1. Shut Down Your Computer
Begin by shutting down your computer and unplugging all power sources. This step is crucial for your safety and prevents damage to the components during the cleaning process.
2. Remove the CPU Cooler
Next, you need to detach the CPU cooler. Refer to the cooler’s manual for specific instructions, as each model may have different mounting mechanisms. Usually, there are screws or clips you need to release. Gently lift the cooler straight off the CPU. If it feels stuck, avoid yanking it up; instead, gently twist it to break the seal formed by the thermal paste.
3. Scrape Off Old Thermal Paste
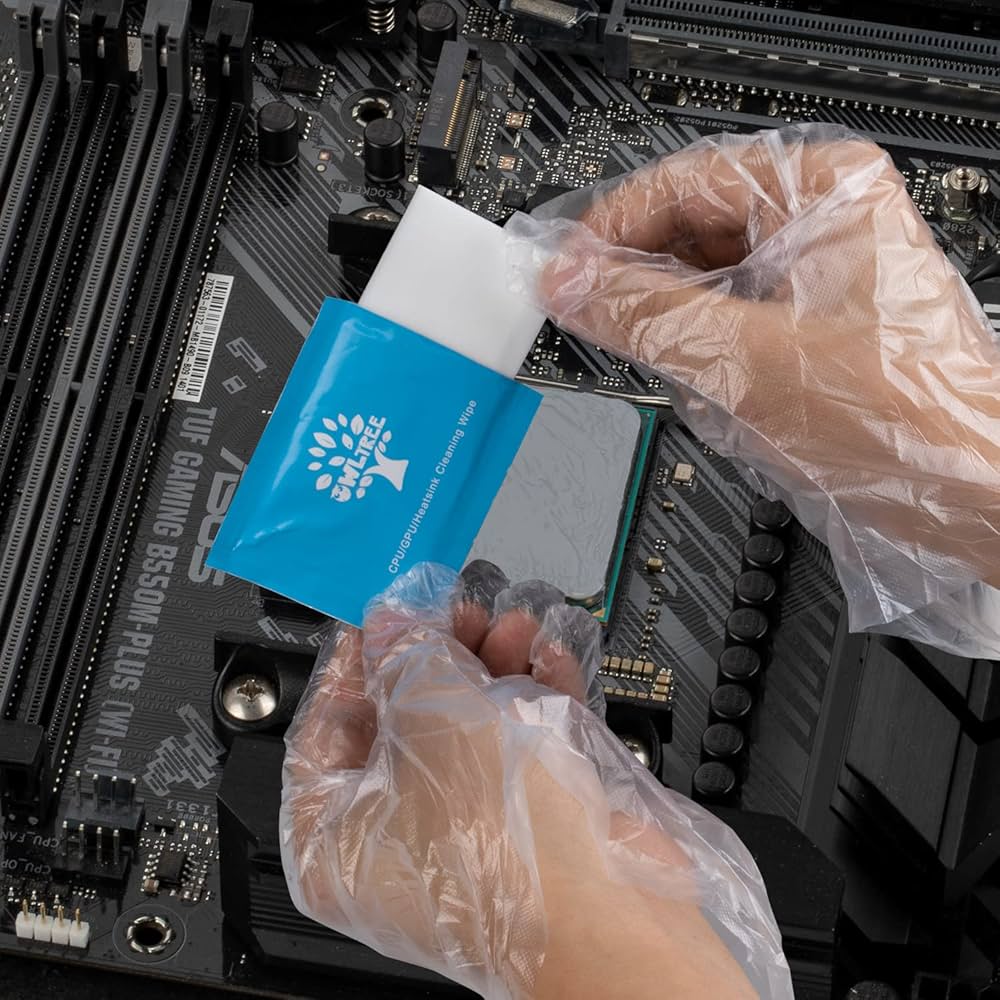
Once the cooler is removed, you will see the old thermal paste on the CPU and the cooler’s base. Use a plastic scraper or an old credit card to carefully lift the bulk of the old thermal paste. Be gentle to avoid scratching the CPU surface.
4. Clean the Surfaces with Isopropyl Alcohol
Next, dampen a corner of your microfiber cloth or coffee filter with isopropyl alcohol. Wipe down the CPU and the cooler base until they are completely free of thermal paste residue. Make sure to clean any areas where thermal paste has spread outside the main contact point. Use small circular motions to ensure that you don’t leave any residue behind.
5. Allow Surfaces to Dry
Once you have thoroughly cleaned both the CPU and cooler, it’s important to allow them to dry completely. This typically takes a few minutes, but ensure that no alcohol sits on the surfaces before applying new thermal paste.
By following these steps carefully, you will effectively clean the thermal paste from your CPU and prepare it for a fresh application.
Applying New Thermal Paste
After removing the old thermal paste and ensuring that both surfaces are clean and dry, it’s time to apply new thermal paste. Proper application can make a significant difference in cooling performance:
1. Select the Right Type of Thermal Paste
Before you apply new thermal paste, choose a high-quality thermal compound that suits your needs. There are several options on the market, ranging from thermal paste with high thermal conductivity to budget-friendly options. Research to find the best thermal paste for your specific usage.
2. Apply the Correct Amount
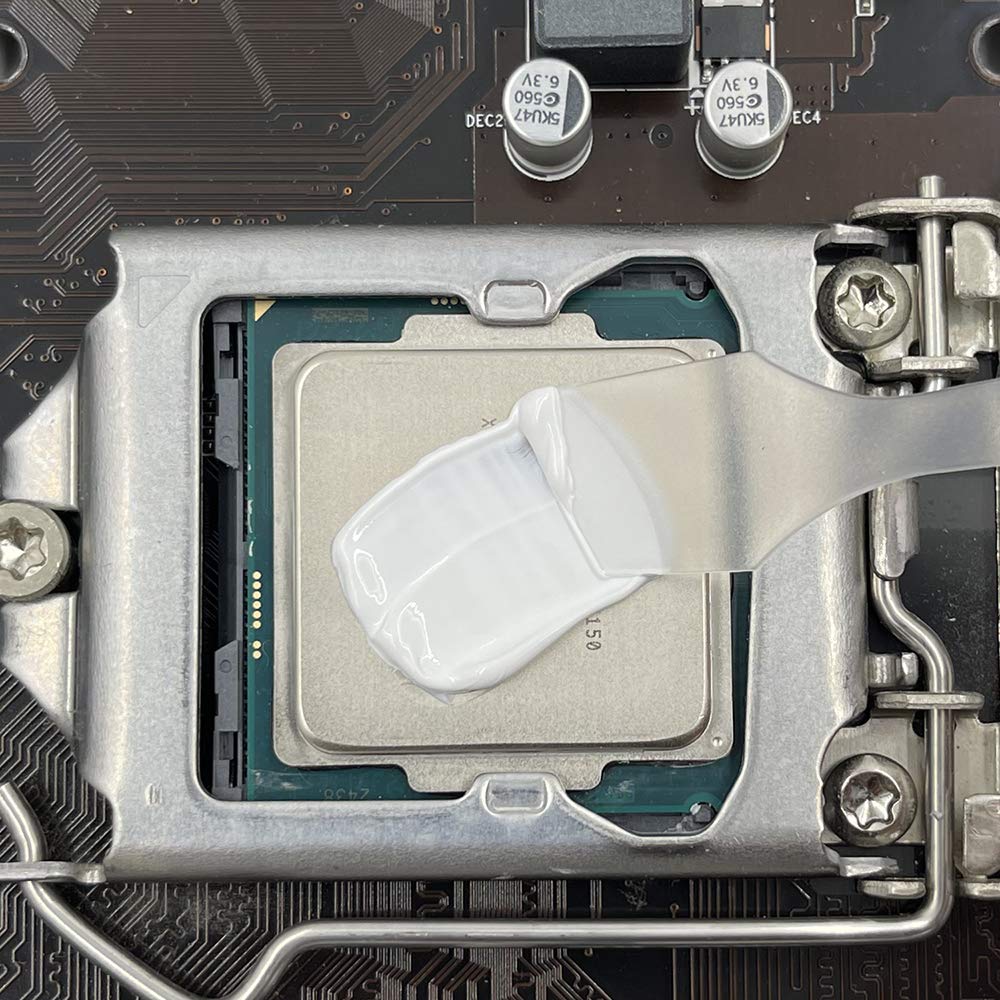
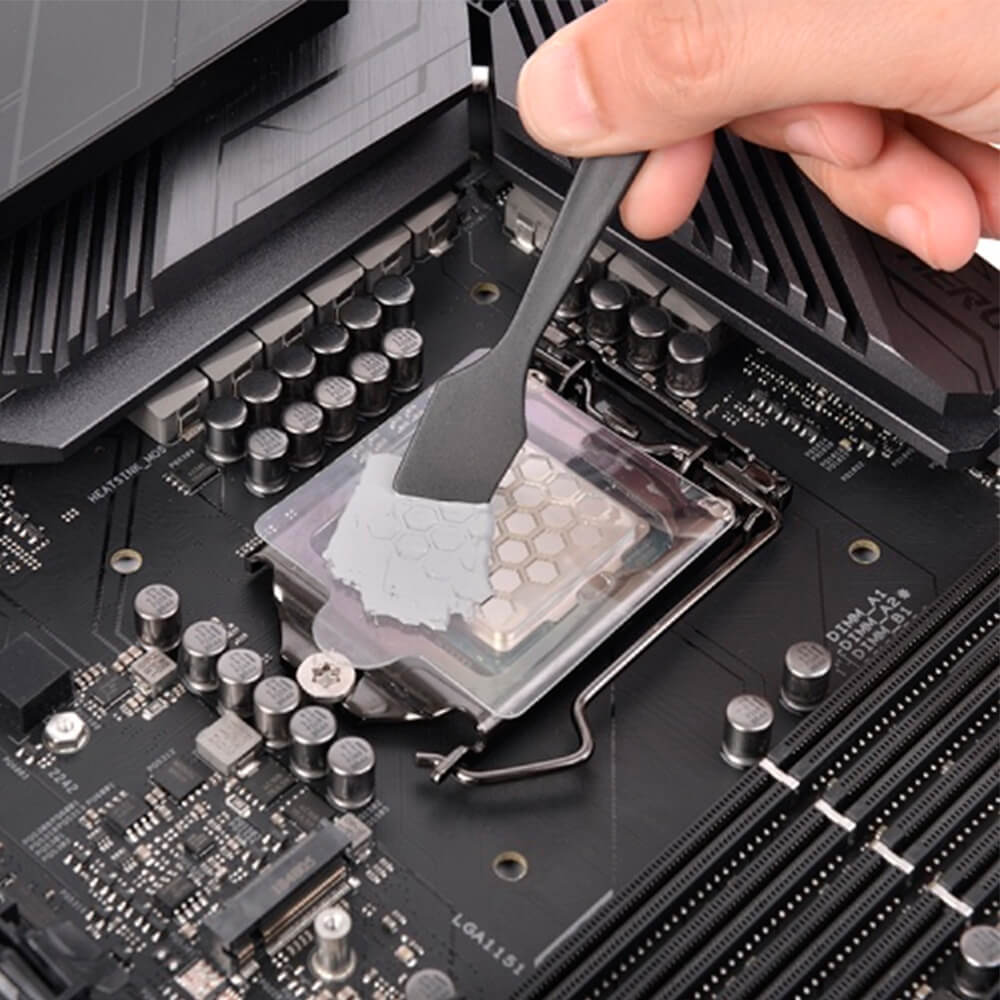
When applying thermal paste, less is often more. A common recommendation is to use a pea-sized dot in the center of the CPU. This amount allows the thermal paste to spread evenly when the cooler is reattached, providing optimal heat transfer.
3. Reattach the CPU Cooler
Carefully reattach the CPU cooler, ensuring it’s aligned correctly. The pressure from the cooler will spread the thermal paste evenly across the CPU’s surface. Secure the cooler using the original screws or clips.
4. Reconnect All Power Sources
After securing the cooler, reconnect all power sources and peripherals. Turn your computer back on and monitor the temperatures using monitoring software to ensure that the new thermal paste application is effective.
By following these steps for applying new thermal paste, you can ensure that your CPU maintains optimal cooling and performance.
Common Mistakes and FAQs
Common Mistakes
1. Using Too Much Thermal Paste: Applying too much thermal paste can lead to overflow, which can cause the paste to spill over onto the CPU socket or motherboard. This can damage the hardware.
2. Not Cleaning Old Paste Properly: Failing to remove all remnants of old thermal paste can hinder the effectiveness of the new paste.
3. Neglecting to Replace Thermal Paste Regularly: It’s easy to forget about thermal paste replacement, but it should be part of your regular maintenance routine.
FAQs
How Often Should I Clean the Thermal Paste?
It’s advisable to clean and replace thermal paste every 1-2 years or whenever you remove the CPU cooler for upgrades or repairs.
Can I Use Other Substances Instead of Thermal Paste?
No, it’s crucial to use thermal paste specifically designed for this purpose. Other substances may not conduct heat effectively and could lead to overheating.
Is it Safe to Clean Thermal Paste While the Computer is Powered On?
No, this is risky and could damage your components. Always ensure your computer is powered off and unplugged before starting the cleaning process.
Conclusion
Maintaining a well-functioning CPU involves understanding and managing thermal paste effectively. This guide equips you with the knowledge needed to clean thermal paste from the CPU, improving cooling performance and extending the life of your components.
By cleaning and replacing thermal paste regularly, you will not only optimize your PC’s performance, but also enjoy a more stable and efficient system. Take the time to follow the outlined steps and ensure that your CPU runs at its best. With proper care, your system can offer peak performance for gaming, content creation, or any demanding tasks you throw its way.
Now that you’re armed with the information to clean and replace thermal paste, put your skills to the test and enjoy a well-maintained CPU!
