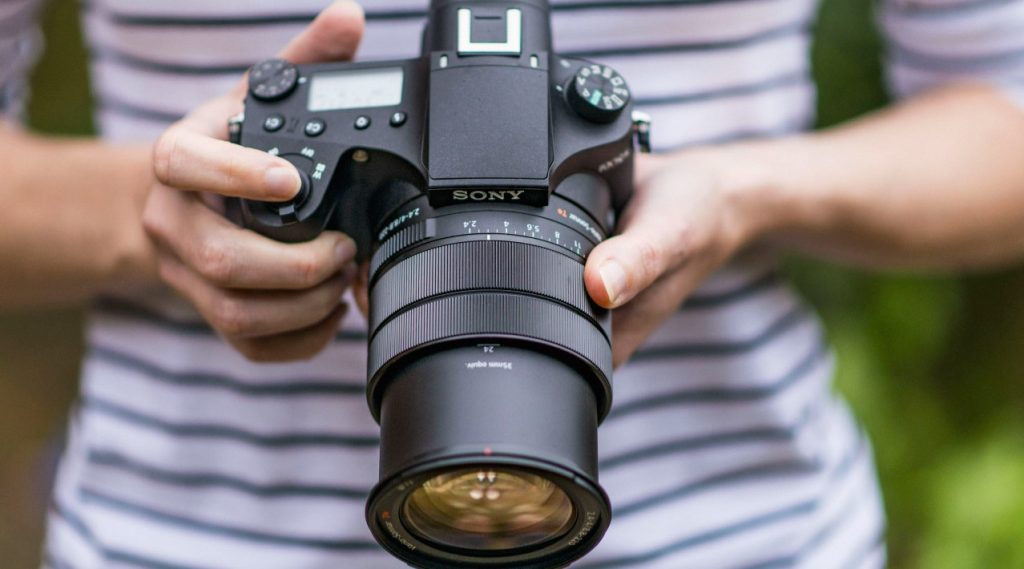
Camera lens protectors offer an invaluable shield against scratches, dust, and fingerprints. But when it’s time to remove one, proper technique is crucial to avoid damaging the delicate lens underneath. This guide provides a step-by-step approach, ensuring a safe and stress-free removal process.
Part 1: Gathering the Essentials
1. Preparing the Workspace:
Choose a clean, well-lit workspace free from dust and debris. A flat surface, preferably covered with a soft microfiber cloth, is ideal. This prevents scratches if the protector accidentally slips during the removal process.
2. Selecting the Right Tools:
Avoid using sharp or metallic objects that could scratch the lens. Opt for one or both of the following:
Microfiber Cloth: A clean, lint-free microfiber cloth is perfect for general cleaning and can also be used to gently grip the protector during removal.
Credit Card or Plastic Prying Tool: A thin, non-abrasive plastic card (like an expired credit card) or a dedicated plastic prying tool can help lift a stubborn protector.

Part 2: Prepping for Removal
1. Power Down the Device:
Always turn off your camera before attempting to remove the lens protector. This prevents accidental activation and potential damage to the camera sensor if the protector comes loose unexpectedly.
2. Identifying the Protector’s Edge:
When removing a camera lens protector, it’s important to begin by locating a small gap or edge where the protector meets the camera lens housing. This area will serve as the starting point for lifting the protector off the lens. Once you identify the gap or edge, use gentle and controlled pressure to slowly lift the protector away from the lens. It’s crucial to proceed with caution and avoid applying excessive force to prevent potential damage to the lens or the protector. By starting at the designated point and carefully lifting the protector, you can minimize the risk of leaving any adhesive residue on the lens or causing any scratches. Taking the time to locate the appropriate starting point and exercising care during the removal process helps ensure that the camera lens remains in optimal condition and ready for future use.
Part 3: The Delicate Removal Process
1. Using a Microfiber Cloth (Option 1):
Gently Grip the Edge: Using a clean microfiber cloth, hold the edge of the protector firmly but carefully.
Slow and Steady Wins the Race: Slowly and steadily pull the protector away from the lens at a low angle (almost parallel to the lens surface).
Avoid Touching the Lens: Be mindful not to touch the exposed lens with your fingers or the microfiber cloth.
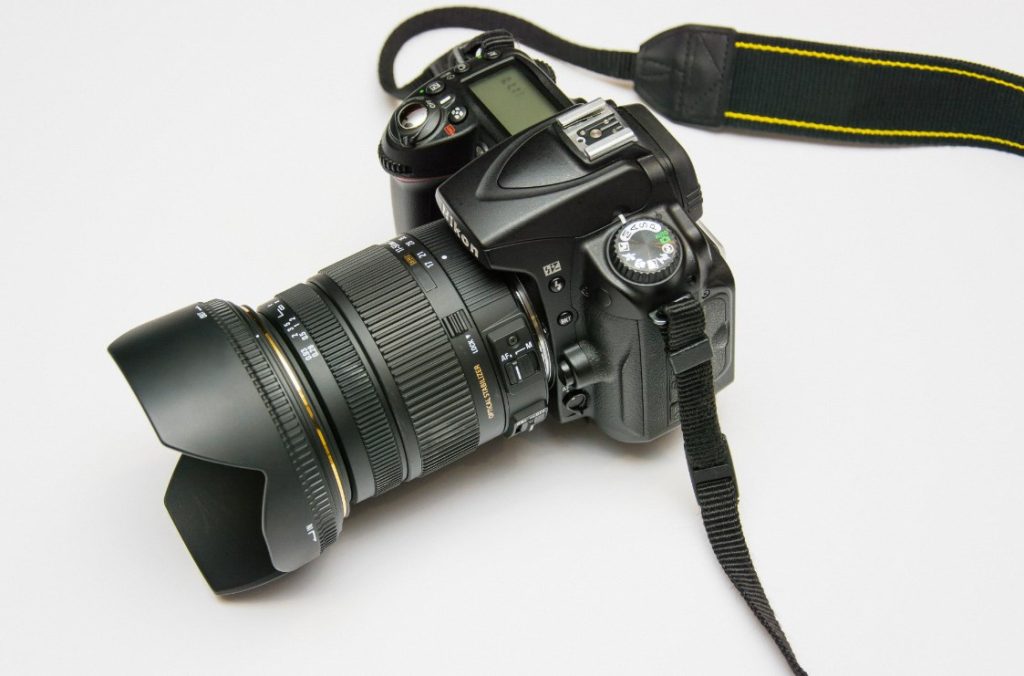
2. Using a Plastic Prying Tool (Option 2):
Caution: Only use this method if a microfiber cloth proves ineffective. Be extremely careful to avoid scratching the lens with the plastic tool.
Slide Under the Edge: Carefully insert the thin edge of the plastic card or prying tool between the protector and the lens housing, at the previously identified gap.
Lift with Minimal Pressure: Apply gentle, even pressure to lift the edge of the protector slightly.
Transition to Microfiber Cloth: Once a small portion of the protector is lifted, switch to using the microfiber cloth for a safer and more controlled removal.
Part 4: Final Touches and Considerations
1. Cleaning the Lens:
After carefully removing the camera lens protector, it’s important to take the necessary steps to ensure the lens surface is clean and free of any remaining dust or adhesive residue. Using a clean microfiber cloth, gently wipe the lens surface to remove any leftover particles or residue. It’s essential to be thorough but gentle to avoid scratching or damaging the lens. Applying minimal pressure and using a gentle, circular motion can effectively lift and remove any stubborn dust or residue from the surface. A gentle cleaning solution specifically designed for lenses can also be applied to the microfiber cloth for tougher residues. This ensures a smooth and clear lens surface. Taking the time to properly clean the lens after removing the protector not only ensures optimal image quality but also helps to maintain the longevity and performance of the camera lens.
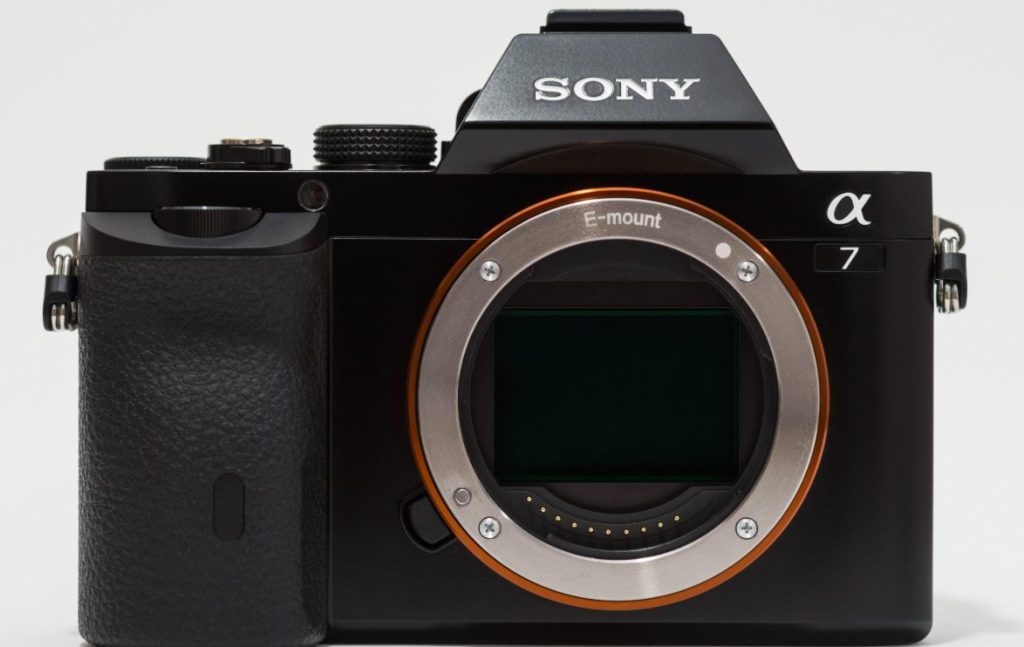
2. Applying a New Protector (Optional):
Before applying a new lens protector, it’s essential to ensure that the camera lens surface is completely clean and dry. This step is crucial for achieving optimal adhesion and preventing any dust or particles from becoming trapped beneath the protector. Using a clean microfiber cloth, gently wipe the lens surface to remove any remaining dust or residue. It’s important to be thorough and methodical to create a smooth and clean surface for the new protector. Once the lens is clean and dry, carefully follow the instructions provided with the new protector for a smooth and successful application. This may involve aligning the protector with the lens and using gentle pressure to affix it securely in place. Following the manufacturer’s guidelines will help ensure that the new protector is applied correctly, providing reliable protection for the lens while maintaining the quality of your camera’s images.
3. Disposal of Old Protector:
After removing the used lens protector, it’s important to dispose of it responsibly. Some lens protectors may be recyclable. It’s worthwhile to check the manufacturer’s instructions or local recycling guidelines to see if they can be recycled. If the lens protector is deemed recyclable, it’s crucial to follow the appropriate recycling protocols for your area. This may involve separating it from other materials or placing it in a specific recycling bin designated for plastic or other recyclable materials. If the protector is not recyclable, you should dispose of it in accordance with local waste disposal regulations. Ensuring the proper disposal of the used lens protector not only helps to minimize environmental impact but also promotes sustainable practices. By taking the time to dispose of the protector responsibly, it contributes to efforts aimed at reducing waste and conserving resources.

Additional Tips:
Heat (Not Recommended): While some online resources suggest using heat (like a hairdryer) to soften the adhesive, this approach is not recommended. Heat can damage the lens or camera housing, so it’s best to avoid it.
Stubborn Protectors: If the protector is extremely difficult to remove and the above methods fail, consult a professional camera technician for assistance.
By following these steps and exercising caution, you can successfully remove your camera lens protector without compromising the delicate lens beneath it. Remember, a little patience and the right tools ensure a safe and successful removal process.
