Introduction to CPU and Its Importance
The Central Processing Unit (CPU) stands as the computer’s brain. It handles all instructions from software and hardware. Without a capable CPU, computers cannot run programs effectively or perform tasks efficiently. This makes the CPU a critical component in any computing system. How to check cpu?
A powerful CPU can speed up everything from simple web browsing to complex video editing. On the other hand, a weaker CPU may result in slower performance and lag. This is why knowing your CPU’s capabilities is essential, especially if you plan to upgrade or troubleshoot your system.
Understanding your CPU helps you make informed decisions on software compatibility and system upgrades. It also enables you to optimize your PC’s performance and ensures your tasks get completed without hiccups. Furthermore, for those interested in gaming or professional work that requires high computational power, checking the CPU is the first step to ensuring a smooth experience.
With a few simple steps, you can learn how to check your CPU in Windows and gain insight into your computer’s performance. This knowledge is not just for tech enthusiasts. It is vital for anyone who relies on their computer for work, entertainment, or communication.
Stay tuned as we delve into the various ways you can check your CPU in Windows, understand its specifications, monitor its performance, and address common issues.
Ways to Check Your CPU in Windows
Knowing your CPU’s specifications can be vital for various reasons. Whether you’re diagnosing performance issues or planning an upgrade, Windows provides several tools to help you identify the details of your CPU. Let’s explore the methods to check your CPU in Windows.
Using Task Manager
Start with the Task Manager to get a quick snapshot of your CPU. Here are the steps:
- Press ‘Ctrl + Shift + Esc’ to open Task Manager.
- Click on the ‘Performance’ tab.
- Look at the CPU section on the left side.
You’ll see your CPU’s name and model at the top-right. Below it, you’ll find usage stats, the number of running processes, base speed, number of cores, and cache size.
Through Windows Settings
Another simple method involves using Windows Settings. Follow these steps:
- Hit ‘Windows key + I’ to open Settings.
- Choose ‘System’ from the menu on the left.
- Scroll down and select ‘About’.
This section provides you with the processor’s name, model, and base clock speed.
Accessing System Information
For a more detailed analysis, use System Information with these steps:
- Type ‘System Information’ in the search bar and open it.
- In the default ‘System Summary’, find the ‘Processor’ entry.
Here, you can view your processor’s name, core count, and base speed. This method provides a comprehensive summary of your CPU and other system components.
By using these tools, you can gain a better understanding of your CPU and its current performance.
Understanding Your CPU’s Specifications
After identifying your CPU, understanding its specifications is crucial. These specs inform you about your CPU’s capabilities and limitations. Here are the key specifications and what they mean for your computer’s performance:
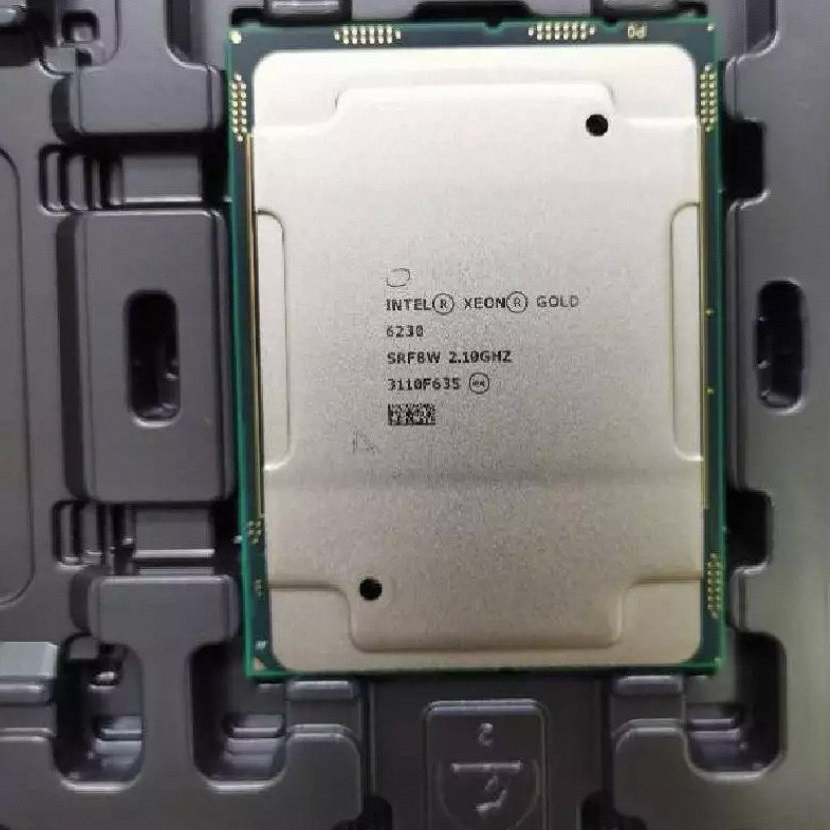
Processor Model and Manufacturer
Every CPU has a unique model number which tells you its place within a manufacturer’s line-up. For instance, an ‘AMD Ryzen 9 7950X3D’ suggests a high-end AMD model, designed for demanding tasks.
Base Clock Speed
The base clock speed, measured in gigahertz (GHz), indicates how fast the CPU runs. A higher number means it can process more operations per second.
Core Count
More cores mean your CPU can handle more tasks simultaneously. For example, a quad-core CPU can manage multiple processes effectively than a dual-core.
Cache Size
The cache is like a CPU’s own memory, used to store frequent operations. Larger cache sizes typically result in quicker data access and improved performance.
Thermal Design Power (TDP)
The TDP gives you an idea of the amount of heat generated. It’s important for cooling system considerations and energy consumption estimates.
By understanding these specifications, you can make better choices regarding software that suits your CPU, determine if an upgrade is necessary, and optimize your system’s performance. Always consider these specs in relation to what you use your PC for, whether it’s gaming, professional work, or general use. A well-informed user can maintain their system efficiently and extend its lifespan.
Tips for Monitoring CPU Performance
Monitoring CPU performance is essential for maintaining your system’s health and ensuring it operates at peak efficiency. Here are some practical tips:
Check for Background Processes
- Open Task Manager and navigate to the ‘Processes’ tab to view running applications.
- Identify non-essential processes that consume high CPU resources and consider closing them.
Monitor During Different Tasks
- Observe CPU usage while performing different activities, from browsing the web to running heavy software.
- Note any spikes or unusual activity that might indicate problems.
Use Performance Monitor
- Access the built-in Performance Monitor tool by typing ‘perfmon’ into the search bar.
- Set up counters for CPU usage to track performance over time.
Update Drivers and Software
- Keep your drivers, especially chipset and graphics drivers, up-to-date to avoid performance issues.
- Regularly update your operating system and applications for optimized CPU usage.
Consider Utility Software
- Consider using third-party utility software designed to offer a more detailed overview of CPU performance.
- Look for reliable applications with positive reviews and ensure they don’t add to CPU load.
Consistently monitoring your CPU can alert you to potential issues before they become serious. By using these tips and maintaining awareness of your CPU’s performance, you can keep your computer running smoothly.
How to Interpret CPU Usage Data
Once you’ve gathered your CPU data using the methods detailed above, interpreting this information is crucial. CPU usage data can tell you whether your CPU is under heavy load, idling, or operating smoothly under normal conditions. Here’s how to make sense of the numbers and what they mean for your computer’s performance.
Deciphering the Percentage
When you look at CPU usage in the Task Manager, you will see a percentage. This number shows how much of the CPU’s capacity is currently in use. For instance, if it shows 70%, your CPU is handling tasks that use up to 70% of its potential at that moment.
A consistently high percentage, like 90% or above, indicates your CPU is working hard. This could be due to demanding software or multiple programs running at once. If your CPU usage is often high, it may slow down your computer.
Evaluating the Core Usage
Modern CPUs have multiple cores, allowing them to process several tasks simultaneously. By looking at individual core usage, you can determine if your CPU is distributing tasks evenly across all cores.
If one core is significantly more utilized than others, it could suggest that a specific application is not optimized for multi-thread processing.
Understanding Base Speed vs Boost Speed
Base speed represents the guaranteed speed of a CPU under normal conditions. However, many CPUs can also boost their speed temporarily to handle peak loads. If you notice that the CPU speed fluctuates above the base speed, it’s likely that your CPU is boosting to accommodate a more demanding task.
Checking for Thermal Throttling
High temperatures can cause CPUs to slow down, a process known as thermal throttling. If your CPU usage is high but its speed is lower than the base speed, this might be happening. Ensuring proper cooling and ventilation can prevent thermal throttling and maintain optimal performance.
Understanding these aspects of your CPU’s usage data will help you determine if your system is running as expected or if you need to take action to address issues such as high usage, uneven core load, or overheating.
Troubleshooting Common CPU Issues
Encountering CPU problems can be frustrating. Diagnosing these issues, however, doesn’t have to be complex. Here are common CPU issues and how to troubleshoot them.
Overheating
If your CPU is overheating, it may throttle its performance to cool down. Here’s what to do:
- Check the cooling system. Ensure your fan or liquid cooler is working properly.
- Clean out dust. Accumulated dust can impede airflow and cooling efficiency.
- Replace thermal paste. Dried-out thermal paste won’t conduct heat effectively.
- Ensure adequate ventilation. Make sure your PC’s case has good airflow.
High CPU Usage
High CPU usage can slow down your computer. To manage this issue:
- Close unnecessary programs. Use Task Manager to shut down resource-heavy processes.
- Check for malware. Use antivirus software to scan for and remove malware.
- Update your software. Make sure your operating system and applications are up to date.
- Upgrade hardware. If high usage persists, consider more RAM or a new CPU.
Computer Crashes
If your computer crashes often, the CPU might be at fault. Try these steps:
- Update drivers. Outdated drivers can lead to system instability.
- Check CPU temperature. Use a monitoring tool to watch for overheating.
- Test your CPU. Run a diagnostic test to check for errors.
- Verify power supply. An unstable power supply can cause crashes.
Noisy CPU Fan
A loud CPU fan can indicate a problem. Here’s how to address it:
- Clean the fan. Dust buildup can cause the fan to work harder.
- Replace the fan. A worn-out fan may be inefficient and noisy.
- Adjust fan settings. Some BIOS allow control over fan speeds.
- Check for obstructions. Make sure nothing’s blocking the fan’s movement.
By following these guidelines and checking your CPU as described earlier in this guide, you’ll be well-equipped to troubleshoot common CPU issues.
Upgrading Your CPU: What to Consider
Before you upgrade your CPU, there are several important factors to consider to ensure you make a well-informed decision. Here’s what to keep in mind:
Understand Compatibility
- Check your motherboard’s socket type to ensure the new CPU fits.
- Verify that your motherboard chipset supports the CPU model.
- Ensure your system’s BIOS is up to date for the new CPU.
Consider the Performance Needs
- Determine the tasks you use your PC for, such as gaming or editing.
- Match the CPU capabilities with your performance requirements.
- Look for CPUs with higher speeds or more cores if needed.
Examine the Budget
- Set a reasonable budget that aligns with your needs.
- Remember, high-end CPUs come at a higher cost.
- Consider the price-to-performance ratio when comparing CPUs.
Think About Cooling
- High-performance CPUs often generate more heat.
- You might need a better cooling solution for a new CPU.
- Factor in the cost of coolers if your current one isn’t sufficient.
Check Power Consumption
- More powerful CPUs may need more power to operate.
- Make sure your power supply unit (PSU) can handle the upgrade.
- Calculate the overall power draw with the new CPU included.
Future-proofing Your System
- Consider how long you plan to use the new CPU.
- Future-proofing may require investing in a higher-end CPU now.
- Upgrade other components if necessary to avoid bottlenecks.
Ease of Installation
- New CPUs can be delicate and require careful handling.
- Read installation guides and watch tutorials.
- If unsure, seek professional help to avoid damaging components.
By considering these points, you can ‘how to check cpu’ compatibility and select the right upgrade to enhance your computing experience. Always remember that the most expensive CPU isn’t always the best for every situation. Balance your needs with your budget to find the most suitable CPU upgrade.