Introduction
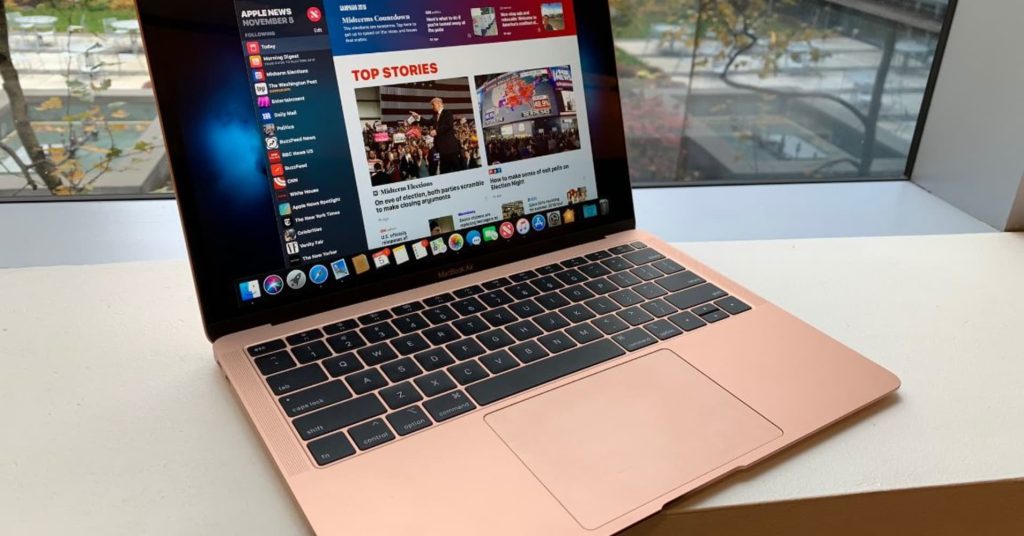
Connecting your AirPod Pros to your MacBook can enhance your audio experience and provide you with superior sound quality. Whether you want to listen to music, watch movies, or have hands-free audio during video calls, pairing your AirPod Pros with your MacBook offers a seamless and convenient solution. In this article, we will guide you through the process of connecting your AirPod Pros to your MacBook effectively.
1. Pairing AirPod Pros via Bluetooth
1.1 Ensure Bluetooth is Enabled
1.1.1 Open System Preferences: Click on the Apple menu and select “System Preferences.”
1.1.2 Choose Bluetooth: In the System Preferences window, click on the Bluetooth icon.
1.1.3 Enable Bluetooth: If Bluetooth is turned off, click the checkbox to enable it.
1.2 Open AirPod Case and Enable Pairing Mode
1.2.1 Open AirPod Case: Remove your AirPod Pros from the case.
1.2.2 Enable Pairing Mode: Press and hold the button on the back of the AirPod case until the LED light flashes white.
1.3 Connect AirPod Pros to MacBook
1.3.1 Select AirPod Pros: In the Bluetooth preferences window, locate your AirPod Pros and click “Connect.”
1.3.2 Confirm Connection: A pop-up notification will appear on your MacBook once the connection is successful.
2. Adjusting AirPod Pro Settings
2.1 Customize Audio Output
2.1.1 Open Sound Preferences: Go to the Apple menu, select “System Preferences,” and click on “Sound.”
2.1.2 Choose AirPod Pros: In the Output tab, select your AirPod Pros from the list.
2.1.3 Adjust Volume Levels: Use the output volume slider to adjust the volume of your AirPod Pros.
2.2 Configuring Noise Cancellation and Transparency Mode
2.2.1 Open Bluetooth Preferences: In the Bluetooth preferences window, locate your AirPod Pros and click the “Options” button next to them.
2.2.2 Configure Noise Cancellation and Transparency: Choose your preferred mode from the drop-down menu.
2.3 Changing AirPod Pro Controls
2.3.1 Open System Preferences: Go to the Apple menu and select “System Preferences.”
2.3.2 Choose Bluetooth: In the System Preferences window, click on the Bluetooth icon.
2.3.3 Customize Controls: Locate your AirPod Pros and click the “Options” button next to them. Select your preferred controls from the drop-down menus.
3. Switching between Devices
3.1 Seamless Switching
3.1.1 Enable iCloud Sync: Ensure that your MacBook, iPhone, and iPad are signed in to the same iCloud account.
3.1.2 Automatic Device Switching: When you switch between devices, your AirPod Pros will automatically connect to the active device.
3.2 Manual Device Switching
3.2.1 Open Sound Preferences: Go to the Apple menu, select “System Preferences,” and click on “Sound.”
3.2.2 Choose AirPod Pros: In the Output tab, select your AirPod Pros from the list to switch to them manually.
4. Troubleshooting and Tips
4.1 Updating Firmware:
Keep your AirPod Pros and MacBook updated with the latest firmware and software to ensure compatibility and performance.
4.2 Resetting AirPod Pros:
If you experience connection or functionality issues, try resetting your AirPod Pros and then reconnecting them.
4.3 Ensure Proper Fit:
Make sure your AirPod Pros fit snugly in your ears for optimal sound quality and noise cancellation.
4.4 Optimize Audio Settings:
Experiment with different EQ settings or use third-party apps to customize your audio experience.
Conclusion
Connecting your AirPod Pros to your MacBook opens up a world of superior sound quality and convenience. By following the steps outlined in this article, you can easily pair your AirPod Pros with your MacBook via Bluetooth, adjust settings, and seamlessly switch between devices. Troubleshooting tips and optimizing audio settings will help you make the most of your AirPod Pros and enhance your audio experience. Whether for work or leisure, connecting your AirPod Pros to your MacBook will provide you with an immersive and enjoyable sound experience. So, grab your AirPod Pros and get ready to elevate your audio game on your MacBook!